How To Create And Rock Glossy Eyelids
Prepping The Lids
-
 1
1Apply a light shadow. Before you add any gloss, you can create a beautiful effect by first applying a soft, shimmery glow to your lids. Anything with soft sheen looks wonderful, such as a pearl-colored shadow or highlight. You can apply it softly with a shadow brush, or simply dab a bit on with your fingertips.
- While any kind of shadow works, a liquid, gel, or cream shadow will give your eyes a wetter, glossier look.
-
 2
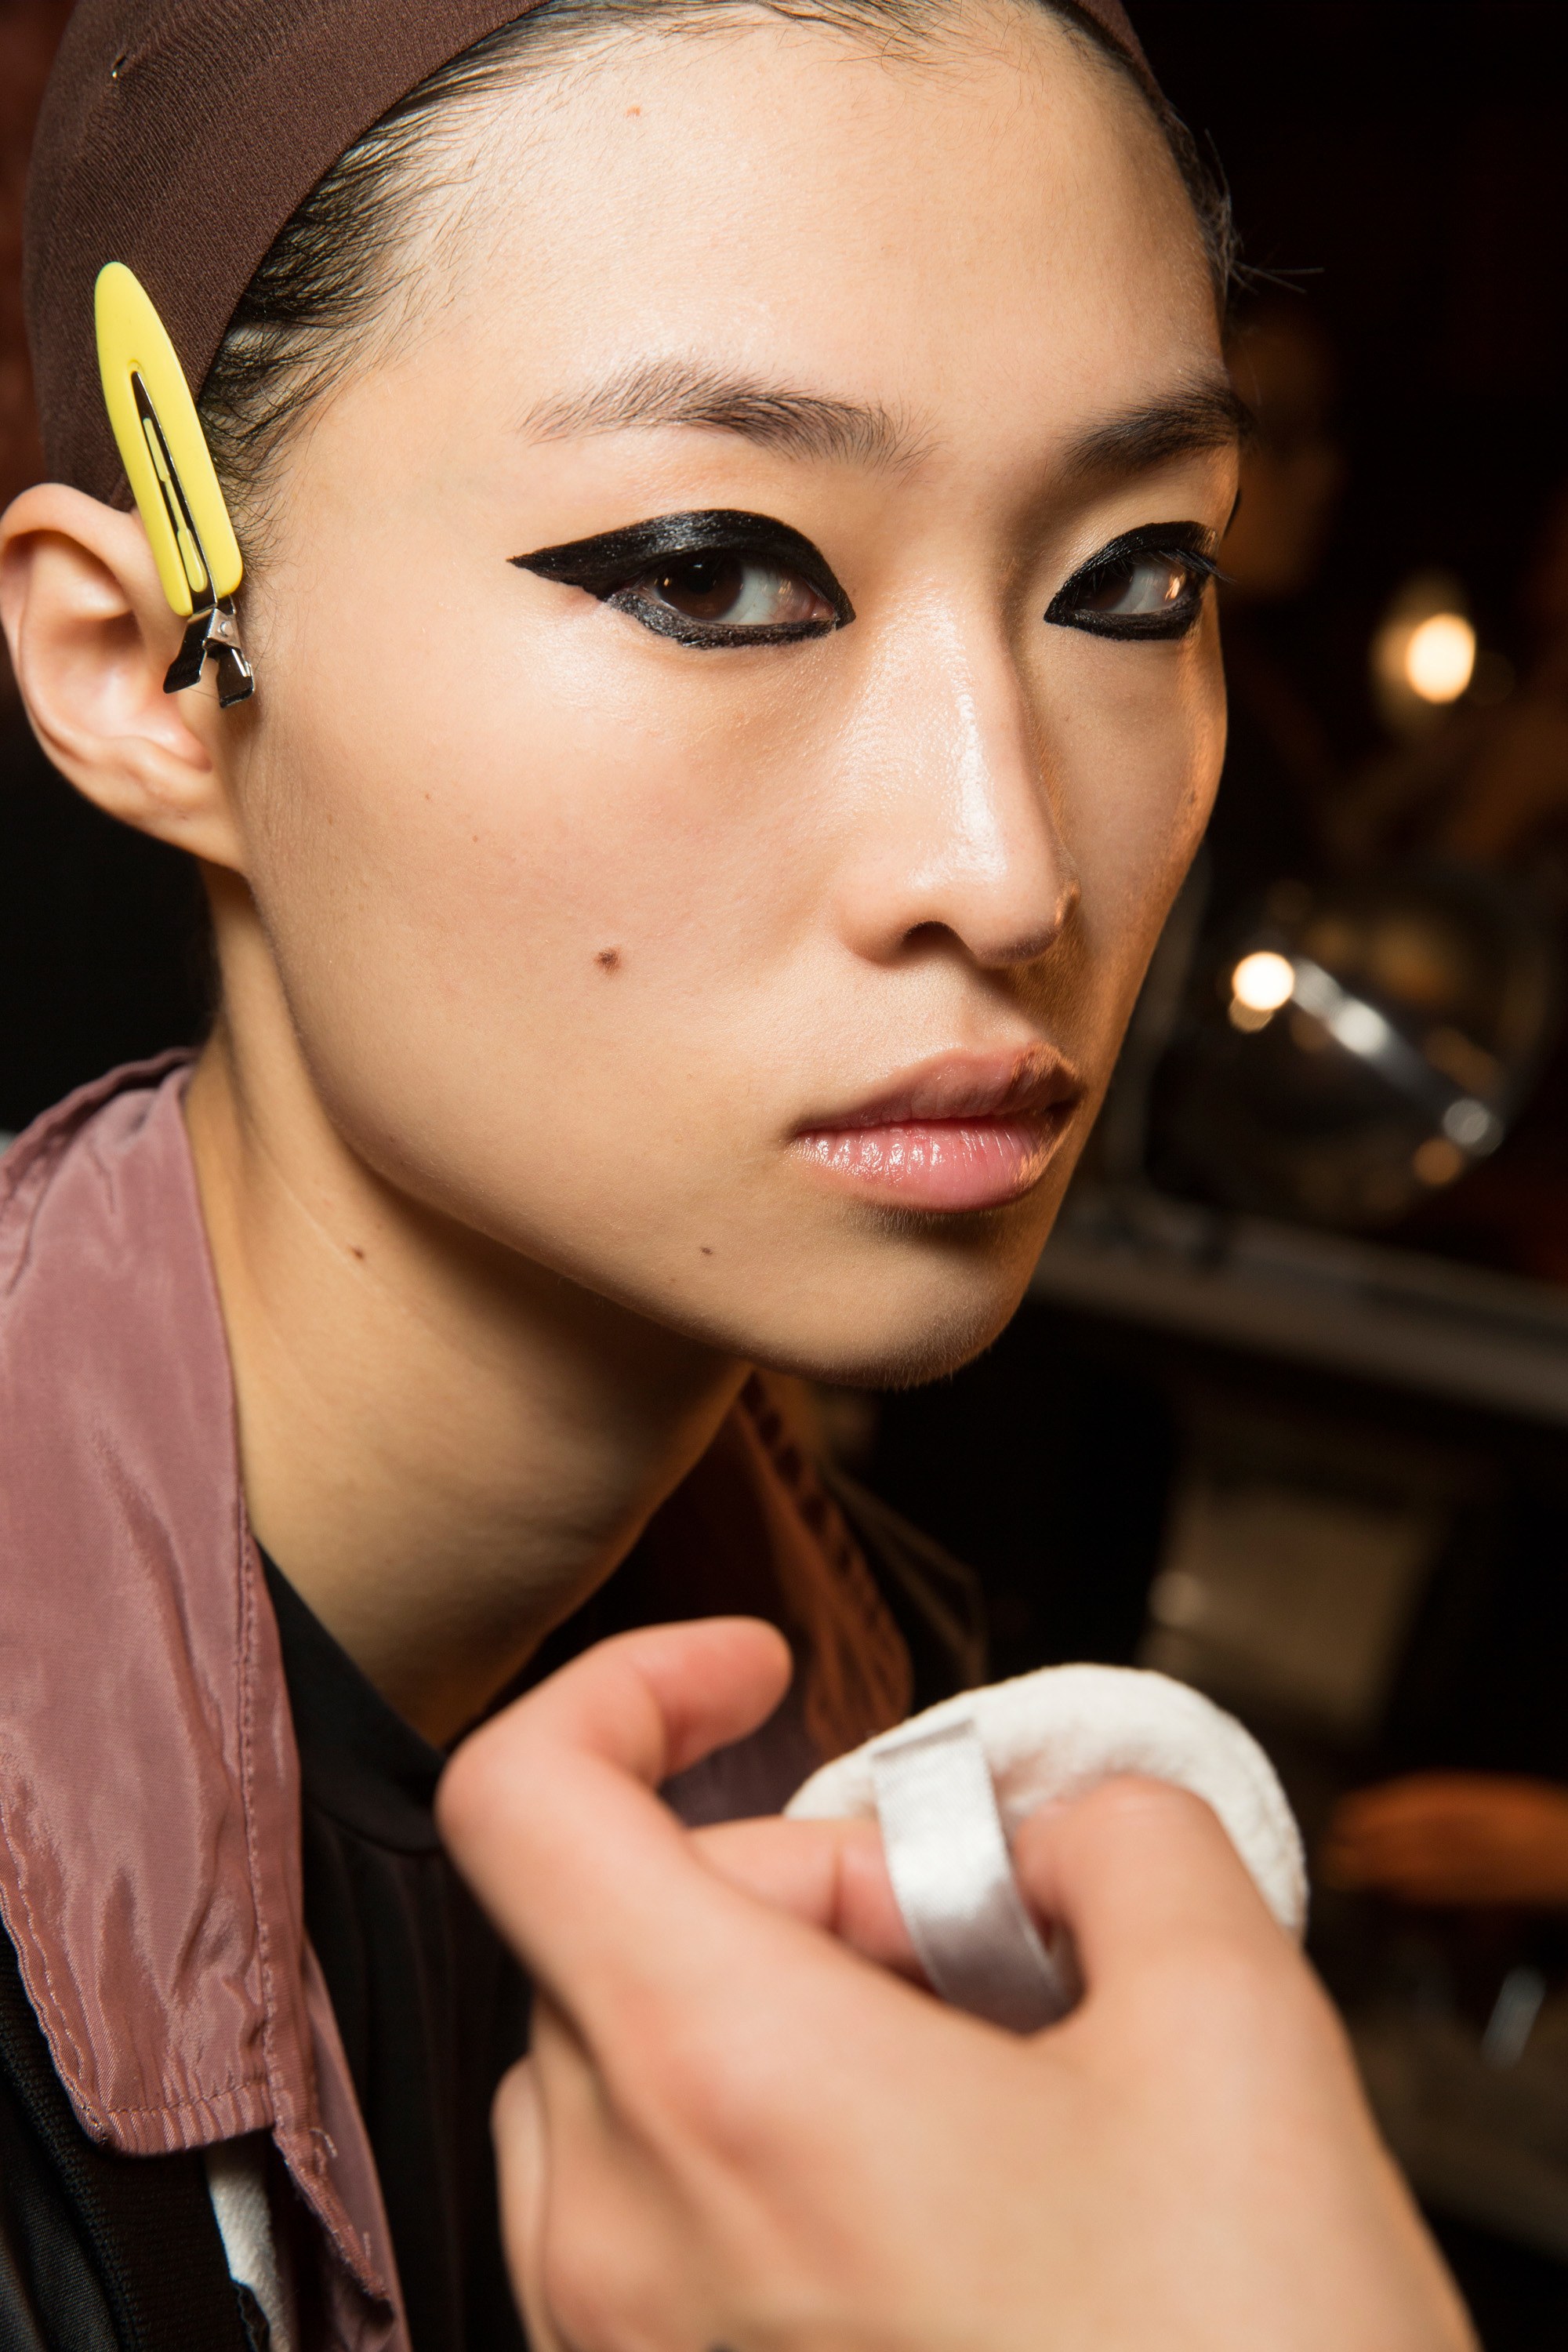
2Line the top lash line. A black liquid liner is perfect for this. By using liquid eyeliner, you can create a thin, precise line that will define your lashes. It’s important to keep this line thin and as close to your lashes as possible, so that you reduce potential smudging once you add the gloss. If you want, you can certainly add a wing.[3]
- This is the only stark, precise line you’ll create. You want to line your eye simply to emphasize your lashes and make them look fuller and darker. You’ll be covering this line later, though, so it’s okay if it’s not perfect. It’s simply the foundation.
-
 3
3Dab the eyeliner with a pencil liner. Once you’ve created that original precise line, you can loosen up. Now, your makeup application will be a bit messier and more sultry. Using a kohl pencil, go back over the liquid eyeliner. You don’t need to create a perfect line – in fact, you don’t want to. The kohl pencil will be smudged and blended with the gloss, so just dab it along your lash line however you want.
- Once you add the gloss, you can always go back in and add more eyeliner as you see fit.


Applying The Gloss
-
 1Add some shine. There are a few different products you can choose from to add a bit of shine and start blending your eyeliner. Note that this isn’t the actual gloss, but will add a bit of luster to get you started. For this, you want to use a wax-based product that isn’t overly sticky. A wax-based product like MAC’s Mixing Medium Shine is ideal. If you don’t want to shell out the cash for a designer product, you can use some waxy lip balm to create the same effect.
 -
- If you’re trying this look out for the first time, it might be wise to save the cash and try creating it with cheaper products. If you love the look and want to wear it often, however, it’s worth investing in the longer-lasting products that are created specifically for the eyes.
-
 2
2Use the product to soften and blend the eyeliner. Whether you’re using the MAC product or a bit of balm, you’ll apply it the same way. Get a bit of the product on your fingertip and press it onto your eyelid. Using a light hand, carefully use the product to smudge out the kohl eyeliner you previously applied. Gently pull the eyeliner up the lid to create a softer, smokier effect.
- If you want your lash line to be darkest, you can certainly add a bit more eyeliner to your lash line after you’ve smudged it out a bit. Remember, though, that this look really isn’t about precision or stark lines.
-
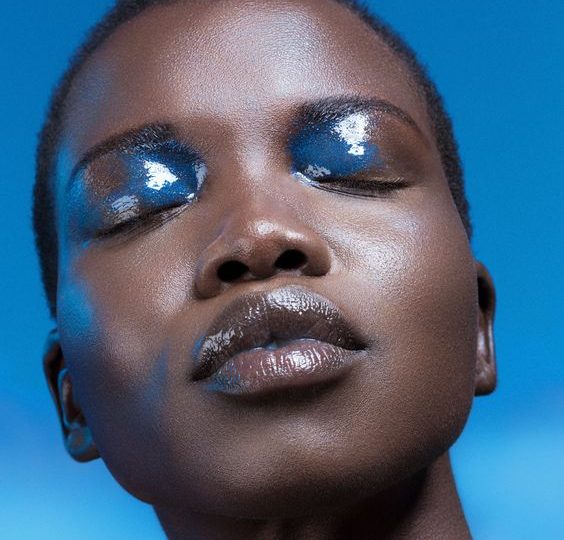
 3Finish with your gloss. Finally, after you’ve blended your eyeliner and laid a shiny foundation, it’s time to apply your gloss. There are a few different eye glosses on the market, like MAC Eye Gloss, NYX Lid Lacquer, MAKE Face Gloss, and Glossier Balm Dotcom. You can find a variety of glosses online or at your local beauty supply store. Use a flat brush or your finger to apply the gloss over your entire lid. Start in the middle and carefully sweep it outwards.
 -
- If you’re worried about your eyelids feeling sticky, avoid applying any product to the crease. Smooth the product to your lid below the crease and a bit above the crease, but don’t put any directly in it!
- If you don’t want to buy a product meant specifically for your eye, you can always use a clear lip gloss or Vaseline-type product instead


Completing The Look
-
 1Apply a bit of highlight to your face. The defining characteristics of this look are dewy and glowing. By adding a bit of highlight to a few key places on your face, you’ll up the glow factor even more. Dust a bit right below your eyebrows, along your brow bone. Then, sweep a bit down the bridge of your nose, on the highest point of your cheekbones, and on your cupid’s bow.
 -
 2Use a transparent or nude lip product. Glossy eyelids are perfect for a fresh-faced, semi-natural look. That being said, they are best paired with a soft, more natural lip color. You can simply roll on a bit of lip balm to keep your lips looking plump and moisturized, or add a bit of nude lipstick if you prefer wearing a heavier product. Whatever you choose to do, let your glossy lids be the star of the show.
 -
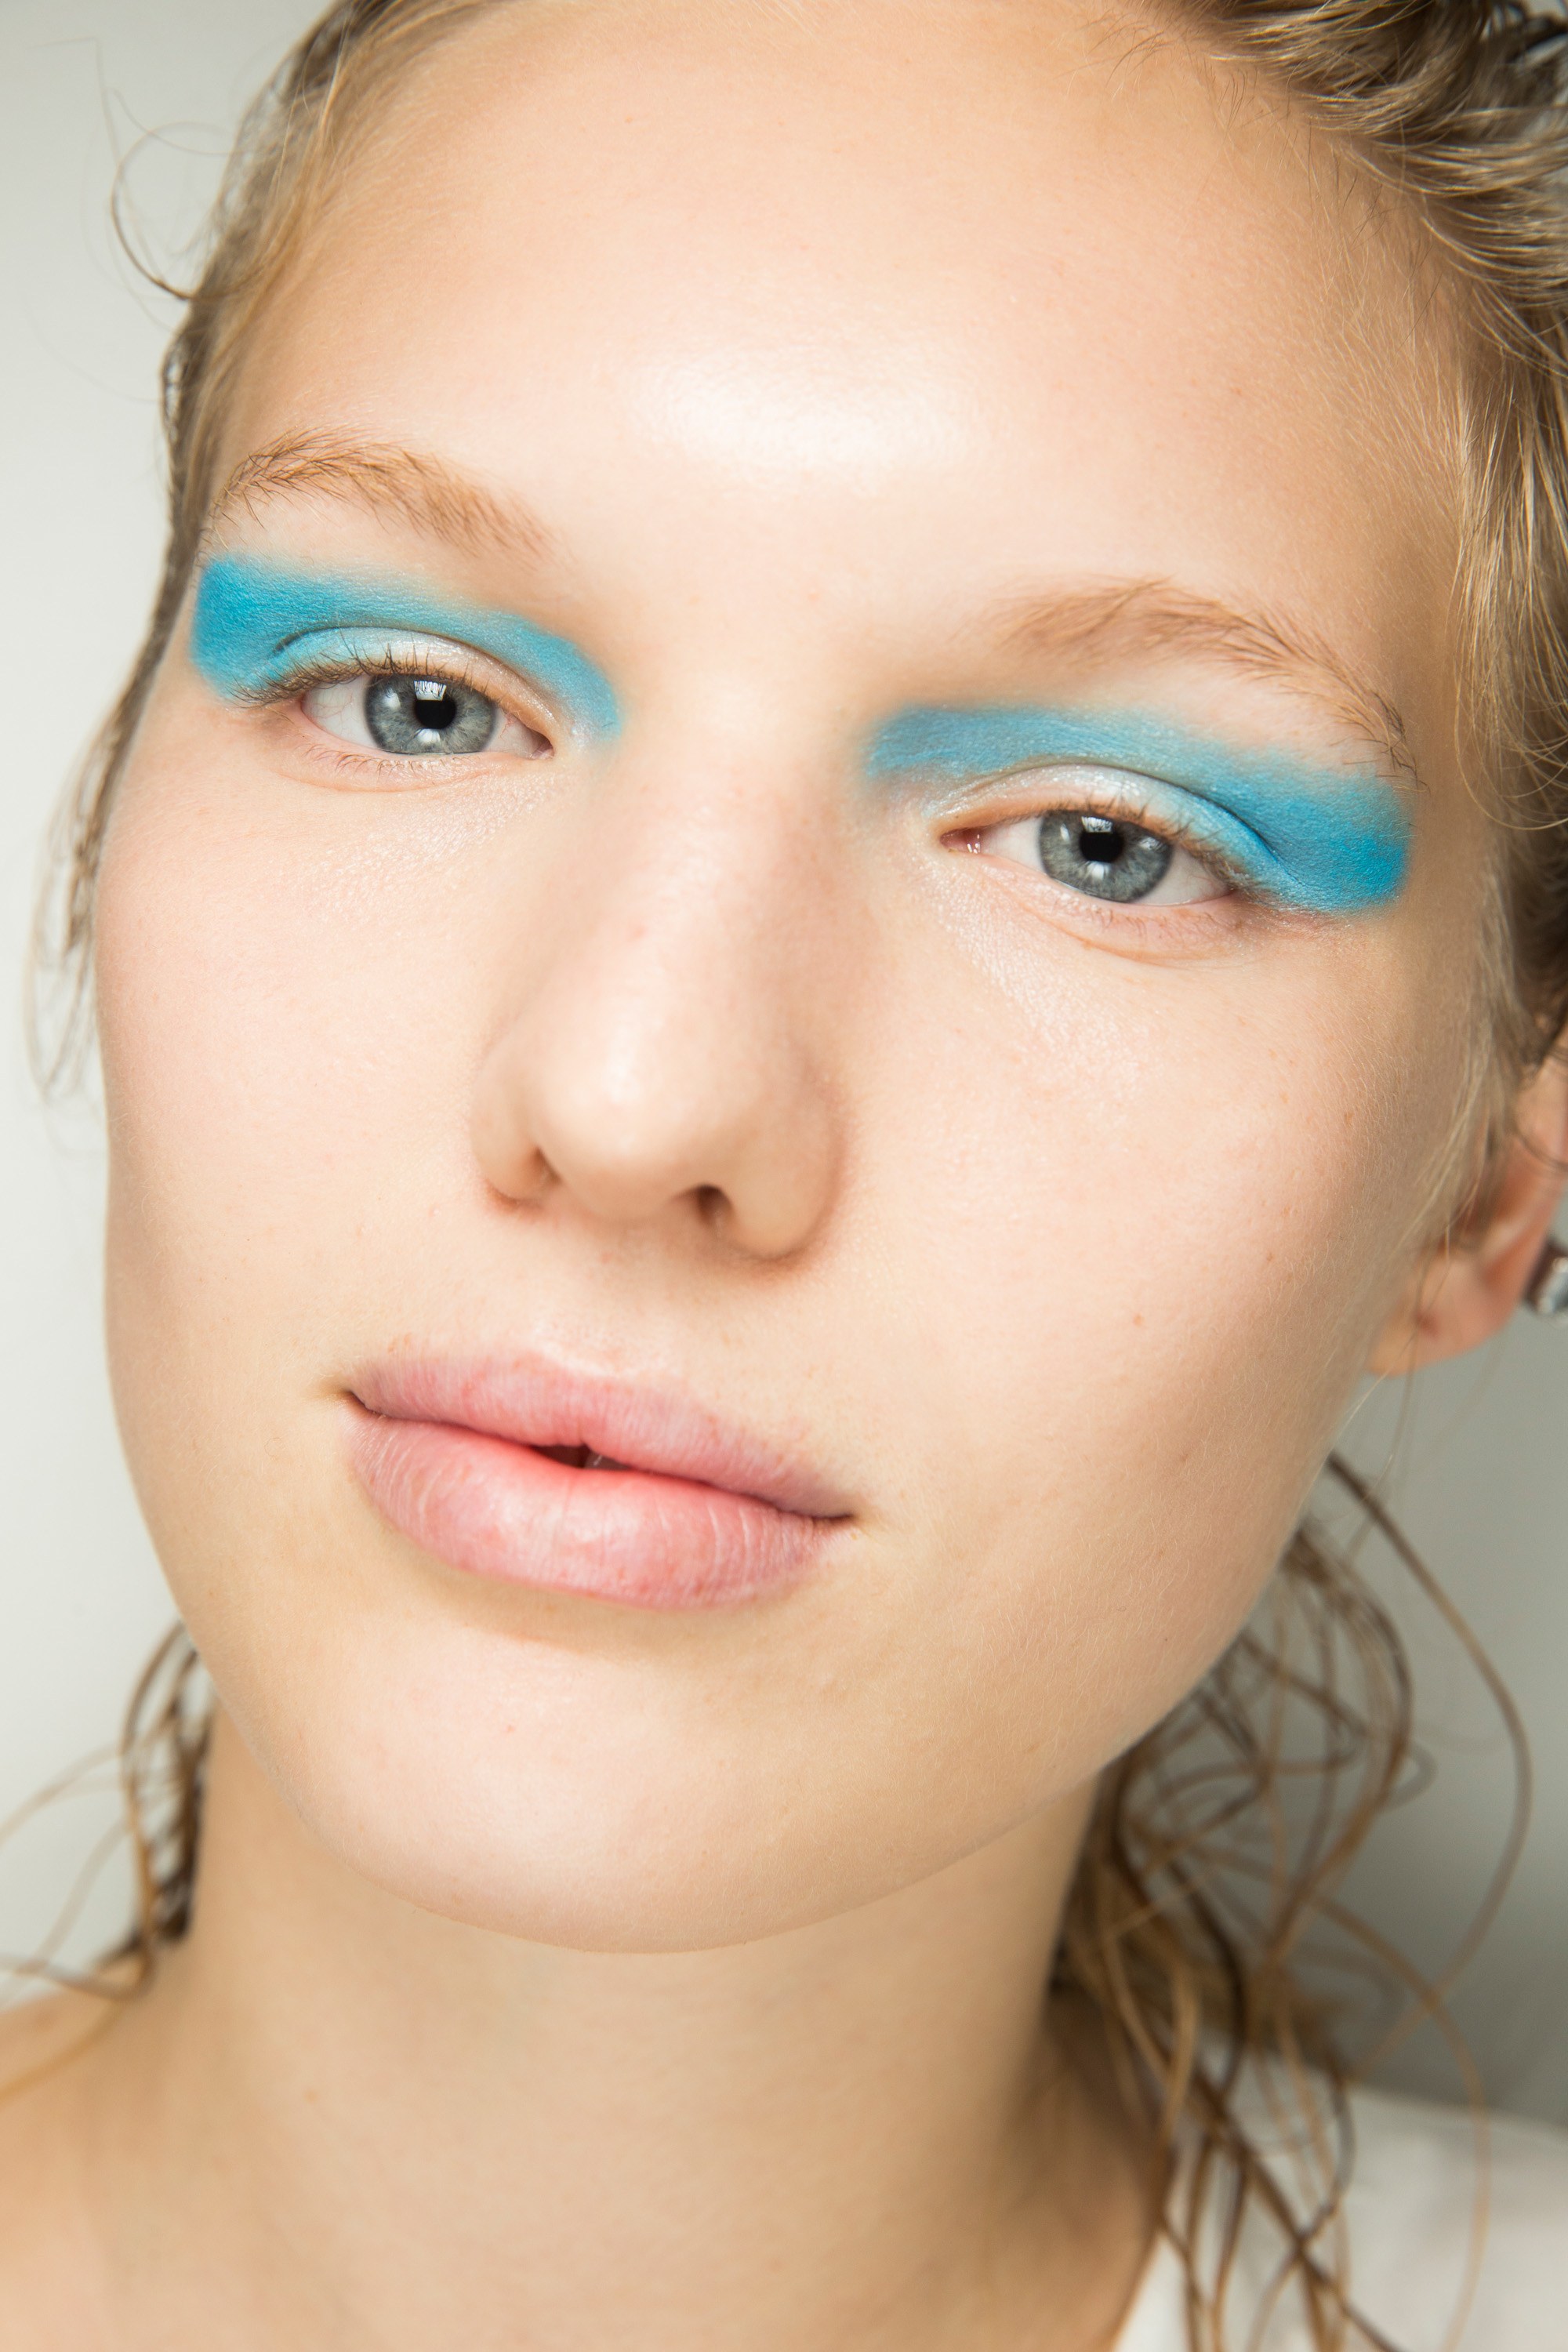
 3Fill in your eyebrows. You don’t need crisp, perfectly manicured brows for this look. In fact, natural brows pair perfectly with this effortless, light look. However, natural brows can always be improved upon! Using an eyebrow pencil, powder, or pomade, lightly fill in any areas where your brows are sparse or thin. Use a spoolie to brush your brows out so that everything looks natural and soft.
 -
 4Bring your gloss with you for touch-ups. Because this is a glossy, wetter look, you’re bound to have some inevitable movement. Most of the natural smudging is great – you don’t want your eyeliner to be perfectly clean and crisp. However, you also don’t want any smudges on your cheek or near your temple! Bring a little mirror and some extra gloss with you when you’re heading out the door. That way, you can fix any wayward smudges and reapply gloss to keep your lids shimmering all day and night.


Source :WikiHow